



Controle de Iluminação Residencial por Comandos de Voz
Componentes e Materiais
- 1x Arduino UNO
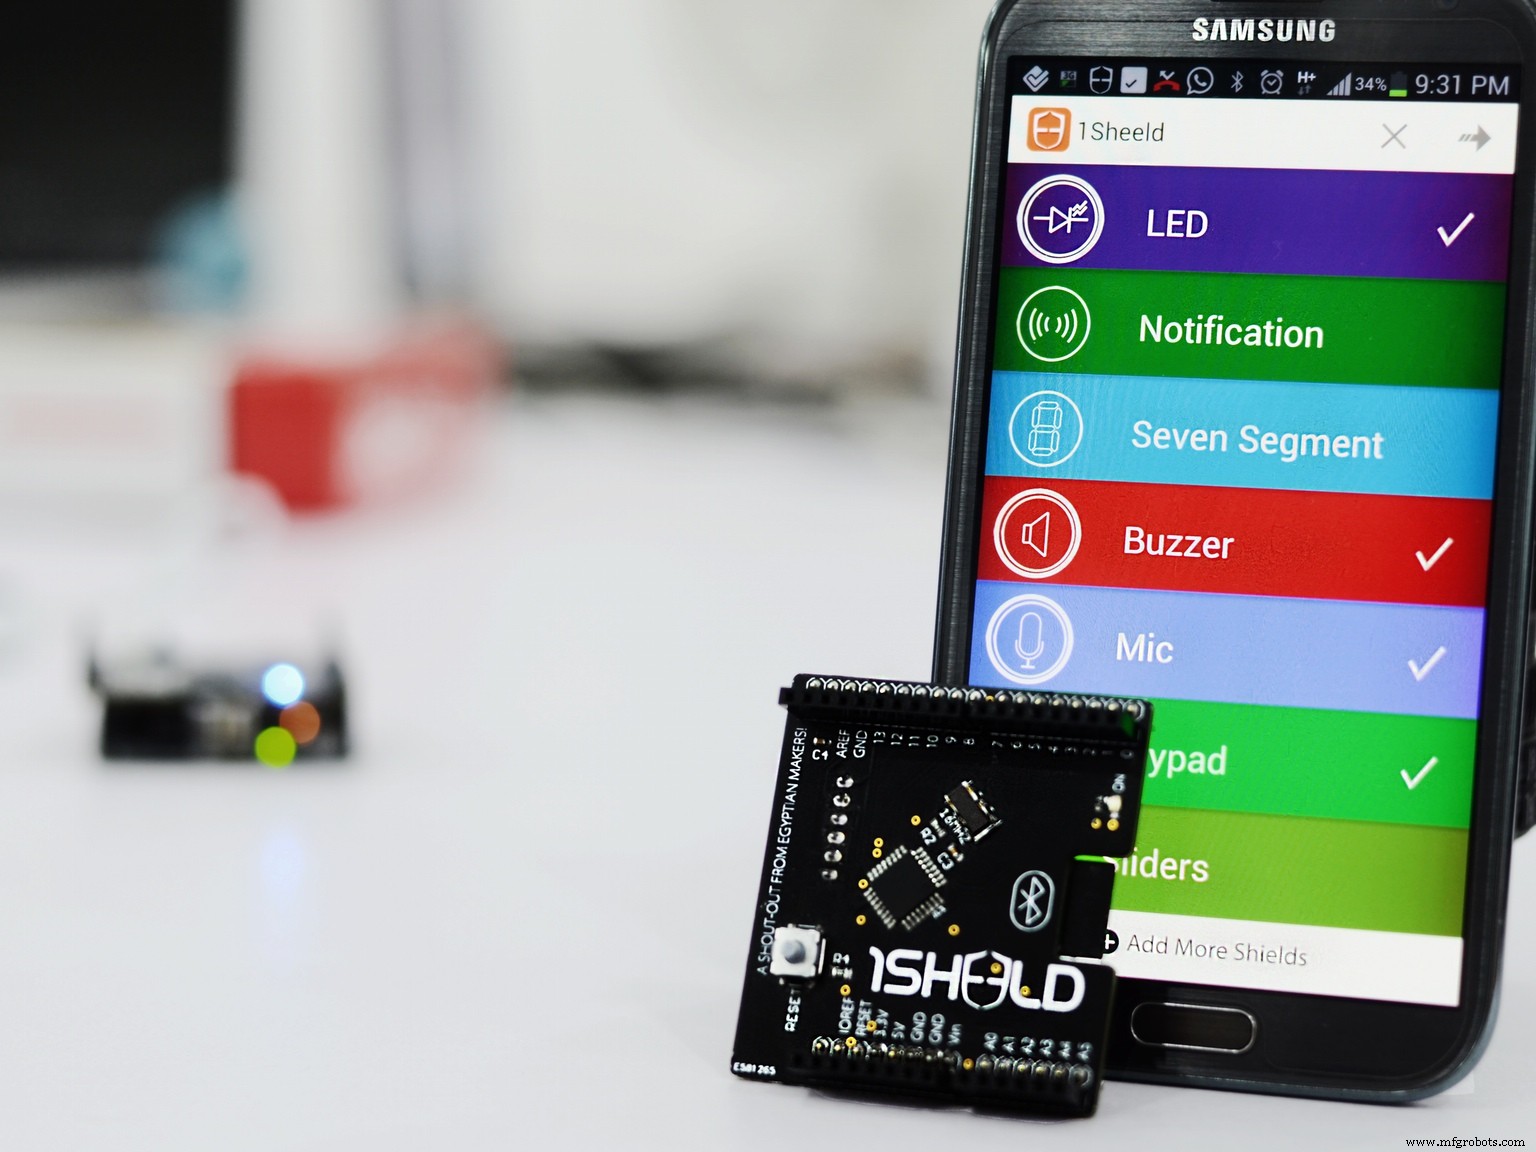
- 1x 1Sheeld
- 3x LEDs (cores diferentes: azul, amarelo, verde)
Sobre o Projeto
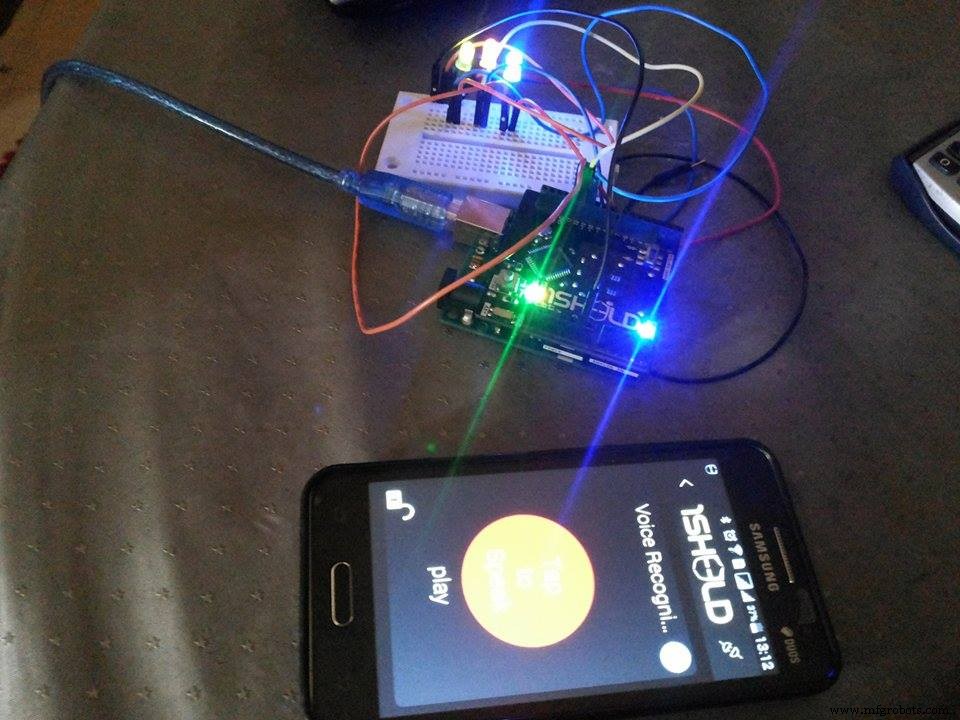
A ideia era provar que é possível controlar a iluminação da casa usando apenas comandos de voz. Os 3 LEDs representam diferentes sistemas da casa (exemplo).
Materiais Necessários
- Arduino Uno
- 1Sheeld
- 3 LEDs (cores diferentes)
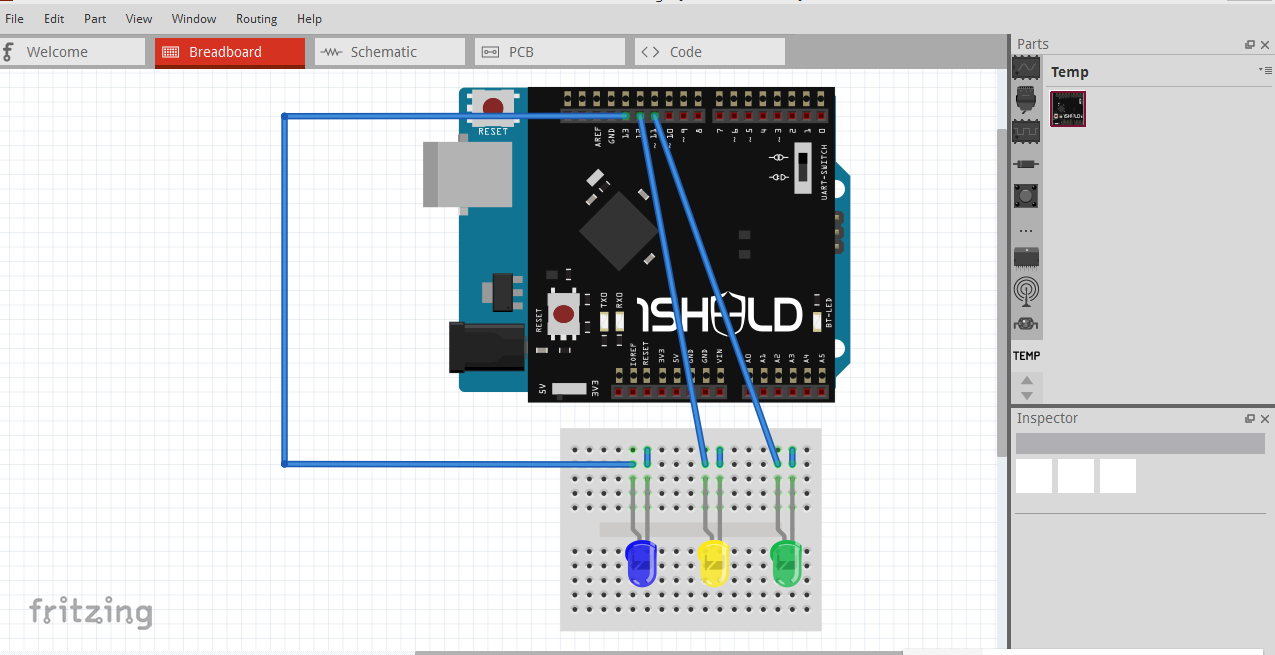
Monte o circuito conforme o esquema abaixo:
Configuração do 1Sheeld
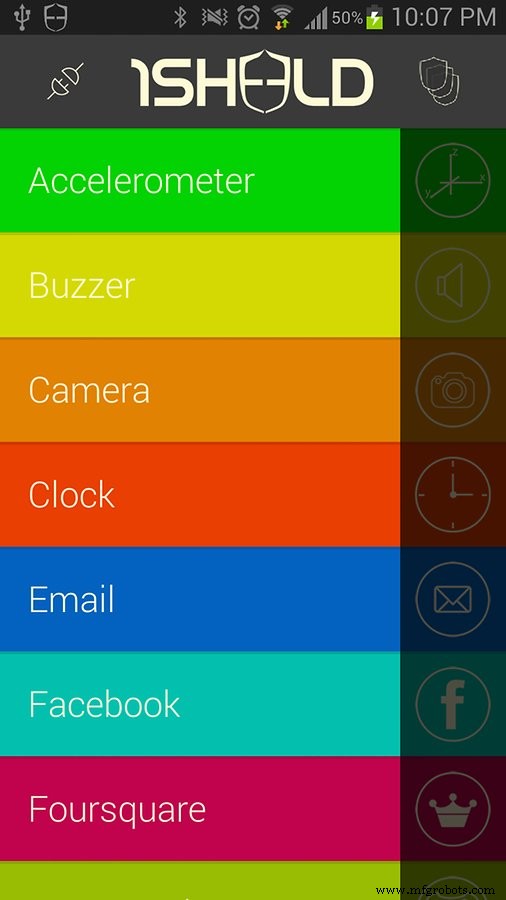
- Abra o app 1Sheeld e conecte ao seu hardware 1Sheeld.
- Selecione o shield Voice Recognition (Reconhecimento de Voz).
Comandos de Voz e Ações
| Comando | Ação |
|---|---|
| "play" | Liga os 3 LEDs |
| "stop" | Desliga todos os LEDs |
| "blue" | Liga apenas o LED azul |
| "yellow" | Liga apenas o LED amarelo |
| "green" | Liga apenas o LED verde |
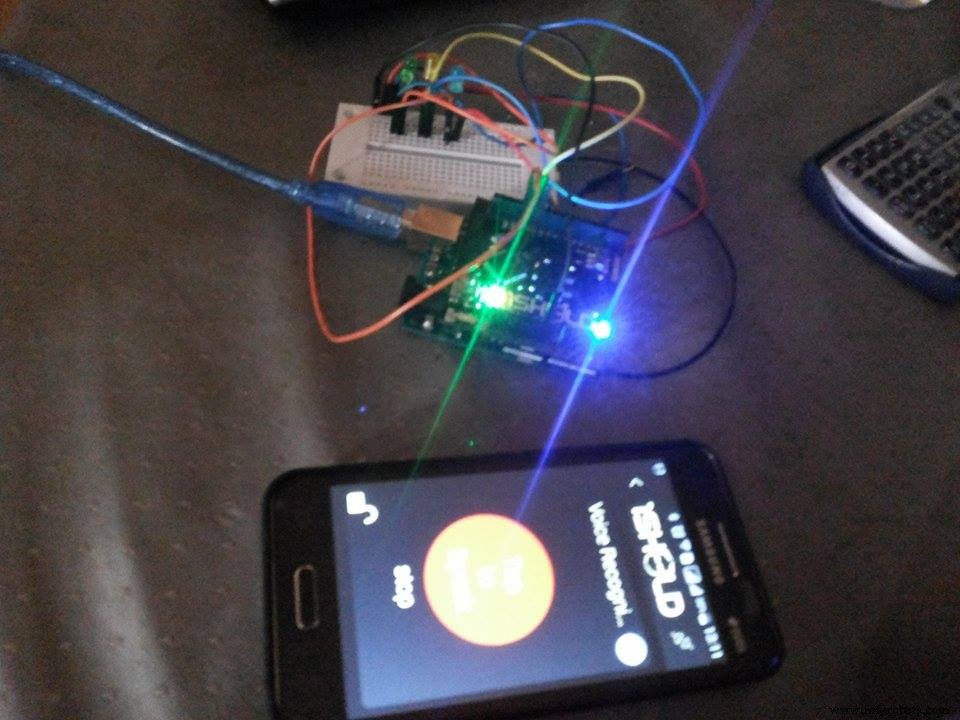
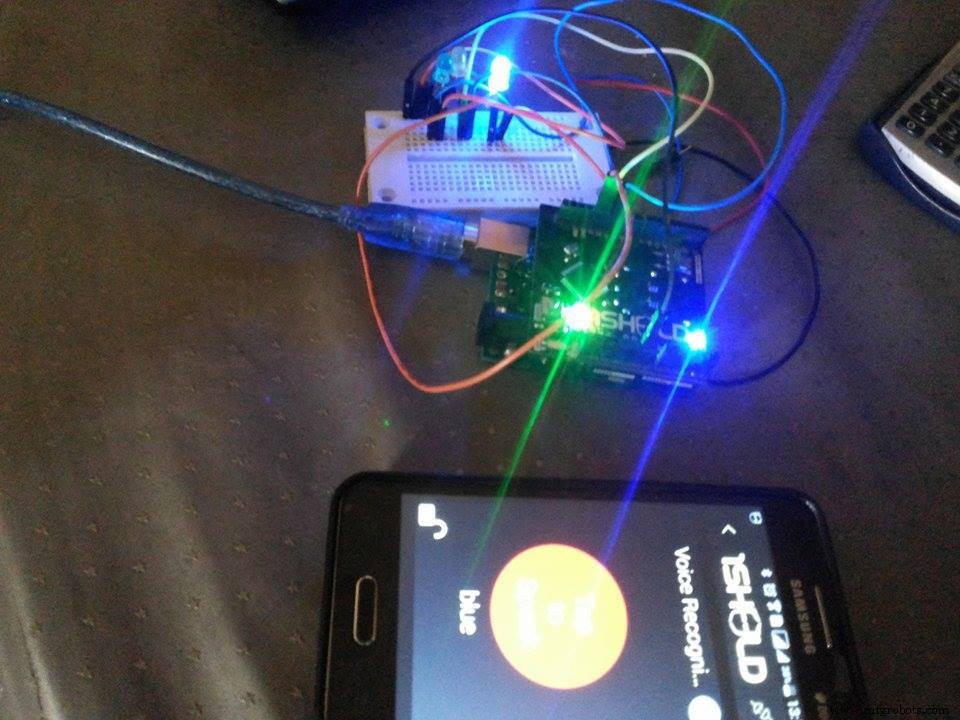
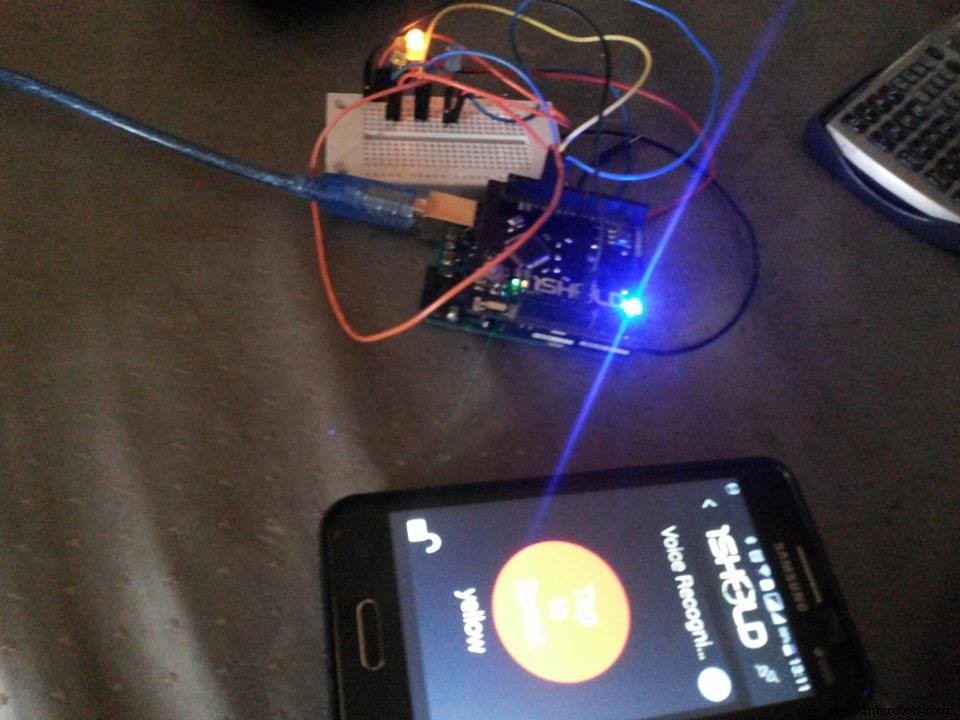
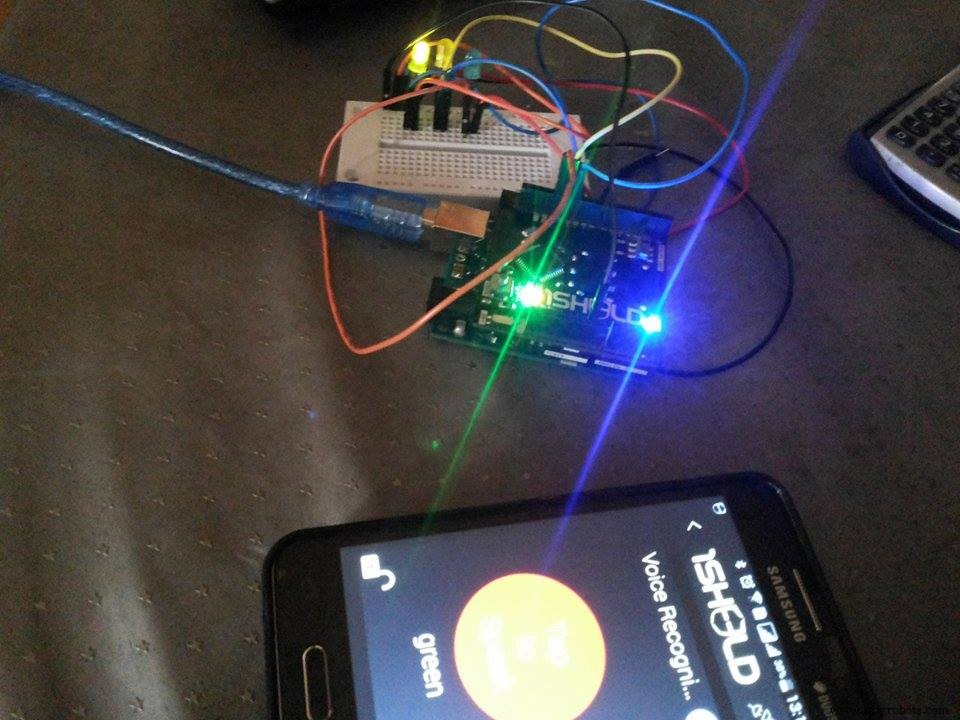
Código
#define CUSTOM_SETTINGS
#define INCLUDE_VOICE_RECOGNIZER_SHIELD
#define INCLUDE_MUSIC_PLAYER_SHIELD
#define INCLUDE_TERMINAL_SHIELD

/* Include 1Sheeld library. */
#include <OneSheeld.h>

int Bledpin = 13;
int Yledpin = 12;
int Gledpin = 11;

/* Voice commands set by the user. */
const char playCommand[] = "play";
const char pauseCommand[] = "stop";
const char stopCommand[] = "yellow";
const char nextCommand[] = "green";
const char BlueCommand[] = "blue";

void setup() {
  pinMode(13, OUTPUT);
  pinMode(12, OUTPUT);
  pinMode(11, OUTPUT);

  /* Start Communication. */
  OneSheeld.begin();

  /* Error Commands handling. */
  VoiceRecognition.setOnError(error);
  VoiceRecognition.start();
}

void loop() {
  /* Check if new command received. */
  if (VoiceRecognition.isNewCommandReceived()) {
    /* Compare the play command. */
    if (!strcmp(playCommand, VoiceRecognition.getLastCommand())) {
      digitalWrite(13, HIGH);
      digitalWrite(12, HIGH);
      digitalWrite(11, HIGH);
    }
    /* Compare the pause command. */
    else if (!strcmp(pauseCommand, VoiceRecognition.getLastCommand())) {
      digitalWrite(13, LOW);
      digitalWrite(12, LOW);
      digitalWrite(11, LOW);
    }
    /* Compare the stop command (yellow). */
    else if (!strcmp(stopCommand, VoiceRecognition.getLastCommand())) {
      digitalWrite(13, LOW);
      digitalWrite(12, HIGH);
      digitalWrite(11, LOW);
    }
    /* Compare the next command (green). */
    else if (!strcmp(nextCommand, VoiceRecognition.getLastCommand())) {
      digitalWrite(13, LOW);
      digitalWrite(11, HIGH);
      digitalWrite(12, LOW);
    }
    else if (!strcmp(BlueCommand, VoiceRecognition.getLastCommand())) {
      digitalWrite(12, LOW);
      digitalWrite(13, HIGH);
      digitalWrite(11, LOW);
    }
  }
}

/* Error checking function. */
void error(byte errorData) {
  /* Switch on error and print it on the terminal. */
  switch (errorData) {
    case NETWORK_TIMEOUT_ERROR: Terminal.println("Network timeout"); break;
    case NETWORK_ERROR: Terminal.println("Network Error"); break;
    case AUDIO_ERROR: Terminal.println("Audio error"); break;
    case SERVER_ERROR: Terminal.println("No Server"); break;
    case SPEECH_TIMEOUT_ERROR: Terminal.println("Speech timeout"); break;
    case NO_MATCH_ERROR: Terminal.println("No match"); break;
    case RECOGNIZER_BUSY_ERROR: Terminal.println("Busy"); break;
  }
}
Esquemático
circuit.fzz (arquivo Fritzing)
Leitor e Gravador de Disquetes Amiga com Arduino – Versão 2.2
Iluminação Inteligente de Escada com LEDs RGB Endereçáveis – Ativada por Movimento e Fácil Instalação
Processo de manufatura
- Transição de Sistemas de Controle Industrial para Redes Sem Fio
- Instalando Google Assistant no MATRIX Voice Raspberry Pi – Guia Passo a Passo
- Estendendo GoPiGo v2 no Windows 10 IoT Core para Raspberry Pi 3
- Desbloqueie Eficiência: Integrando Projeto Elétrico com ERP para Vantagem Competitiva
- Mealheiro Inteligente: Controlar Aceitador de Moedas com Arduino Nano
- Controlar um LED via Bluetooth com Arduino – Guia DIY Simples
- Protegendo Sistemas de Controle Industrial: Estratégias Comprovadas e Melhores Práticas
- Sucesso na Migração de Sistemas de Controle: Estratégias de Especialistas para Transição Perfeita
- Oito Passos Comprovados para Diagnosticar e Corrigir Seu Sistema de Controle de Processo
- Eleve a Eficiência: Realize uma Auditoria Completa do Sistema Hoje